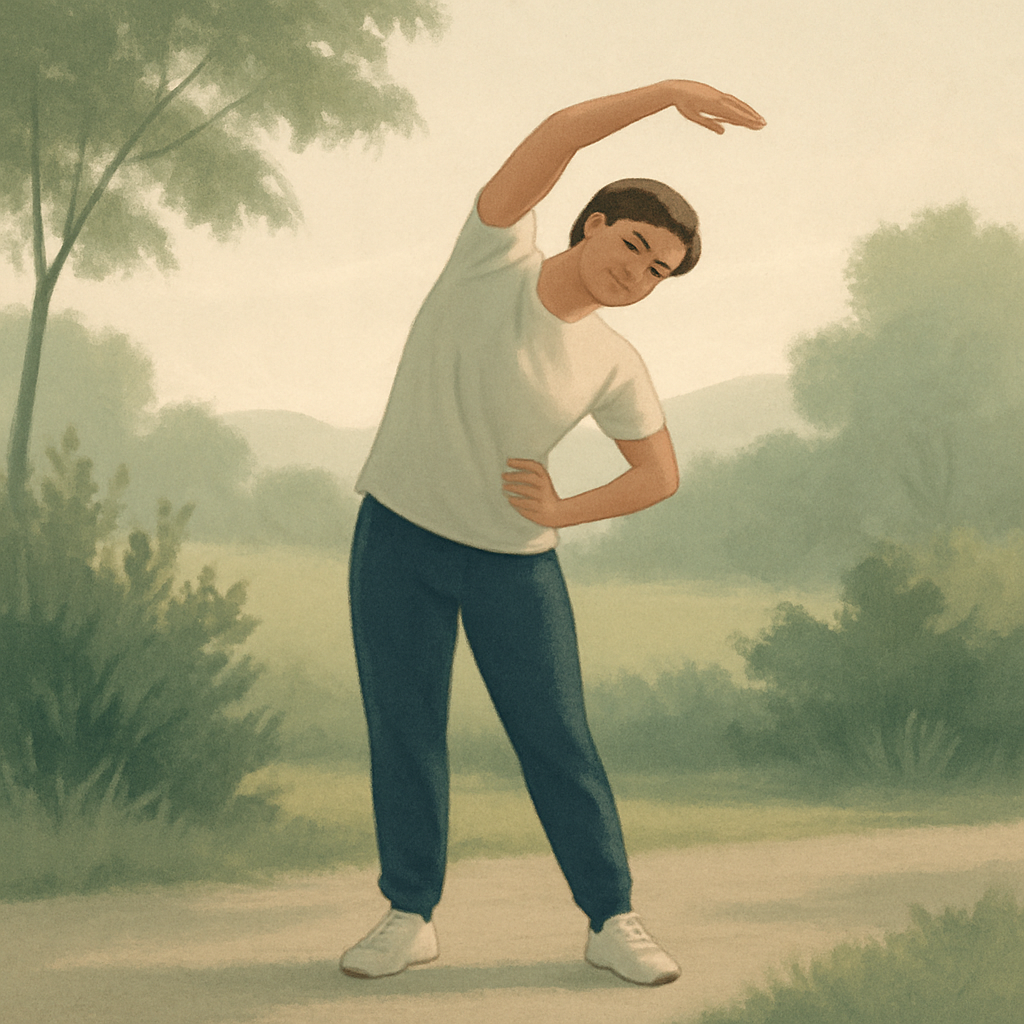
 11 min read
Joint mobility exercises you can do at the office
 Equipo TriwellMarch 23, 202611 min
If you spend more than six hours a day sitting in front of a computer, your body knows it. The crunching of your neck when you turn your head, that dull ache in your lower back after lunch, your shoulders seemingly fused with your neck. It's not (just) that you’re getting older—well, that too—but your joints have gone hours without moving as they should.
I worked for three years in a windowless office in downtown Madrid. After six months, I started to notice it was hard to turn my torso to talk to the coworker next to me. A physical therapist explained it to me in a very visual way: “Your joints are like hinges. If you don’t open and close them, they rust.” Since then, I’ve devoted ten minutes a day to what I'm about to share with you in this article.
## What Joint Mobility Is and Why You Should Care
Joint mobility is the ability of a joint to move through its full range of motion actively, that is, with muscular control. This is not the same as flexibility, though they’re often confused.
Flexibility is passive: it’s what happens when gravity or a partner pushes you down into a stretch. Mobility is active: it’s what occurs when you move the joint with your own strength. A study published in the *Journal of Physical Therapy Science* (2019) showed that sedentary people who incorporated 10-minute joint mobility routines over 8 weeks reduced neck pain by 42% and lower back pain by 37%.
The difference is important because you can be very flexible and have little functional mobility. And it’s functional mobility that protects you from injury, improves your posture, and keeps you from ending up like a cathedral gargoyle after eight hours of typing.
## The Areas That Suffer Most When You Work Sitting Down
Not all joints are affected equally. These are the ones that take the biggest hit in an office job:
**Cervical spine:** The “forward head” position we adopt while looking at the screen compresses the cervical discs and shortens the neck muscles. According to the Spanish Association of Physical Therapists, 67% of office workers suffer from recurring neck pain.
**Shoulders:** They round forward, the pectorals shorten, and the rotator cuff loses range. Result: you can’t lift your arms overhead without compensating with your lower back.
**Thoracic spine:** The middle part of your back stays fixed in kyphosis. This limits trunk rotation and sends stress down to your lower back.
**Hips:** The hip flexors (psoas and iliacus) get tight from constantly being in a flexed position. This pulls the pelvis forward and causes lumbar hyperlordosis.
**Wrists:** Prolonged use of the mouse and keyboard reduces wrist extension and flexion, contributing to carpal tunnel syndrome.
## 10 Mobility Exercises to Do in Your Office
You don’t need a yoga mat, sportswear, or for your coworkers to think you’ve lost your mind. These can be done standing by your desk or sitting in your chair. The full routine takes less than 10 minutes.
### 1. Controlled Cervical Circumduction
Standing or sitting, draw slow circles with your head. Don’t let your head drop back forcefully: control the whole movement. 8 circles each direction. The goal is to feel the tension in your neck release without forcing any point.
### 2. Scapular Retraction and Protraction
Sitting with a straight back, pull your shoulder blades back as if squeezing a pen between them. Hold for 2 seconds. Then push your shoulders forward as far as you can, separating the scapulae. 12 reps. This exercise is a direct antidote to the hunched-over keyboard posture.
### 3. Seated Thoracic Rotation
Sit at the edge of your chair, cross your arms over your chest and twist your torso as far as you can to one side, keeping your hips still. Hold for 3 seconds and return. 8 reps per side. The key is not to move your pelvis: only rotate the middle of your back.
### 4. Wrist Flexion-Extension
Extend your arm with your palm facing up. With the other hand, gently pull your fingers down (extension). Then turn your palm down and pull your fingers toward you (flexion). Hold each position for 10 seconds, both hands. If you feel tingling, reduce the intensity.
### 5. Shoulder Circles with Progressive Range
Standing, let your arms hang down and draw circles backward, starting small and making them bigger each time. 10 circles increasing the range, then 10 decreasing it. Do them forward as well. It seems simple, but if you've been sitting for hours you'll notice your shoulder joints "crack" during the first circles.
### 6. Standing Hip Hinge
Standing, hands on your hips, knees slightly bent, lean forward hinging at your hips (don’t round your back). Return to the starting position by squeezing your glutes. 10 reps. This movement teaches your hips to move like a hinge, which is what they’re designed for.
### 7. Active Psoas Stretch
Step forward with one leg. Lower your hip gently and squeeze the glute of your back leg. Raise the arm on the same side as your back leg and do a slight side bend. Hold for 15 seconds per side. You don’t have to go too low: just feel the stretch in the front of the hip.
### 8. Open Squat Hold (Sumo Squat Hold)
Place feet wider than hip-width apart, toes slightly out. Lower yourself as much as you can, keeping heels down and back straight. Use your elbows to push your knees outward. Hold for 20–30 seconds. Physical therapists call this “the ancestral position” because this is how we sat before chairs were invented.
### 9. Chair Thoracic Extension
Sitting in your chair, interlace your hands behind your head and arch your back over the chair’s backrest. Don’t force your lower back; the movement comes from the middle of your back. 8 slow reps. This is probably the most satisfying exercise on the list: the release in your thoracic spine is almost therapeutic.
### 10. Wall Ankle Dorsiflexion
Facing a wall, place one foot forward with your toes touching the wall. Bend your knee, trying to touch the wall without lifting your heel. Gradually move your foot further back. 8 reps per leg. Stiff ankles cause more trouble than you think: they affect the knee, hip, and even lower back.
## When and How to Incorporate This Routine
Science is pretty clear on this: **better little and often than lots and rarely**. A 2021 meta-analysis in *BMC Musculoskeletal Disorders* concluded that active microbreaks (5–10 minutes every 1–2 hours) were more effective at reducing musculoskeletal pain in office workers than one long session at the end of the day.
My practical recommendation:
- **Upon arriving at the office:** Do the full routine (10 minutes). Your body’s coming off 7–8 hours of lying down and needs to wake up. - **Every 90 minutes:** Pick 3–4 exercises and do them quickly (3–4 minutes). Use an alarm or an app like Stretch Reminder. - **After lunch:** Repeat the full routine. Digestion slows you down; take the chance to move before sitting down again.
## Mistakes You Should Avoid
After years of practicing and recommending these exercises, I’ve seen the same mistakes over and over:
**Going too fast.** Mobility isn’t cardio. Every movement should be slow and controlled. If you’re rushing, you’re not working your range of motion, you’re using momentum.
**Forcing the range.** If you feel sharp pain, you’ve gone too far. Mobility is gained millimeter by millimeter, not by pulling as if you’re going to rip your arm off.
**Only doing it when it hurts.** By the time it hurts, you’ve already been losing range for weeks. Mobility is preventive. It’s like brushing your teeth: you don’t wait for cavities to start.
**Holding your breath.** Breathing naturally during exercises is key. Breathing helps relax the nervous system and allows more range of motion.
## What the Competition Doesn’t Tell You
I’ve read dozens of articles on joint mobility for office workers. Most make the same mistake: they give you generic exercises without explaining why they work or how to adapt them to your real situation.
The reality is not all bodies need the same thing. If you have scoliosis, thoracic rotation should be done more carefully on one side than the other. If you’ve had a shoulder injury, wide circles might not be good for you at first. And if you’re over 50, hold times should be shorter but more frequent.
My advice: start with the routine just as it is here. After two weeks, identify which exercises feel best and which don’t do much for you. Stick to 6–7 that really work for you and deepen your practice with them. The best mobility routine is the one you do every day, not the one with the most exercises.
## Practical Summary
Ten minutes a day. Ten exercises. Zero equipment. You can do them in a shirt, with a tie, in heels if necessary. All you need is to remember that your body was not designed to sit for eight hours, and to give it the minimum it needs not to complain.
After a month of doing this routine, I guarantee you’ll notice the difference. Less stiffness in the mornings, less neck pain in the afternoons, and that feeling that your body moves as it should. Sometimes, the smallest changes are the ones that make the biggest impact.